
A step-by-step guide to working your daily jobs in FieldAX — from accepting an assignment to completing the service report in the field.
PREPARED FOR TECHNICIAN TEAM
This guide covers what you, as a service technician, need to do in FieldAX — from checking your daily jobs to completing a service report in the field.
1. Your Daily Job List (Daybook)
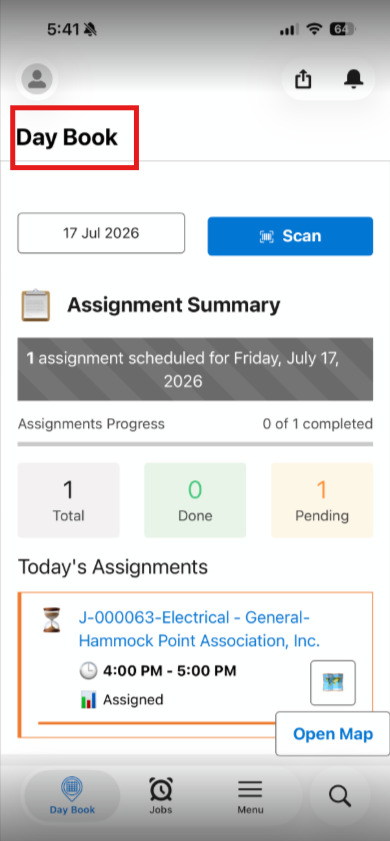
All your assignments for the day are shown in the Daybook on your mobile app. It shows:
- Total number of jobs assigned to you for the day
- How many are pending vs. completed
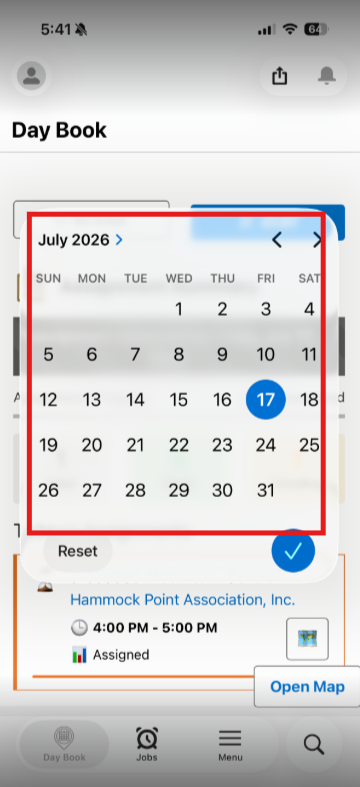
- You can change the date to view a different day’s schedule
2. Working an Assigned Job
Once a job has been assigned to you by the dispatcher, follow these steps in order:
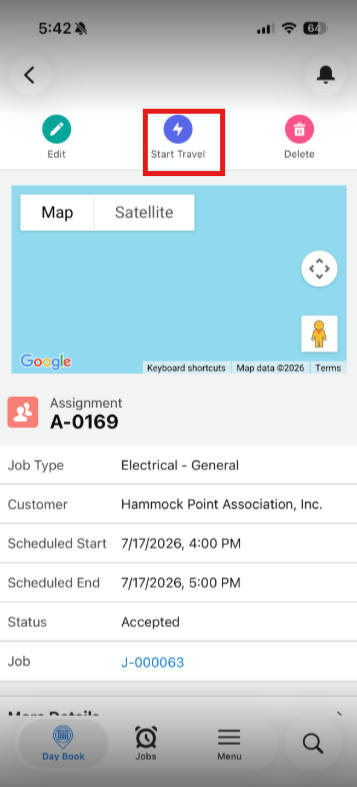
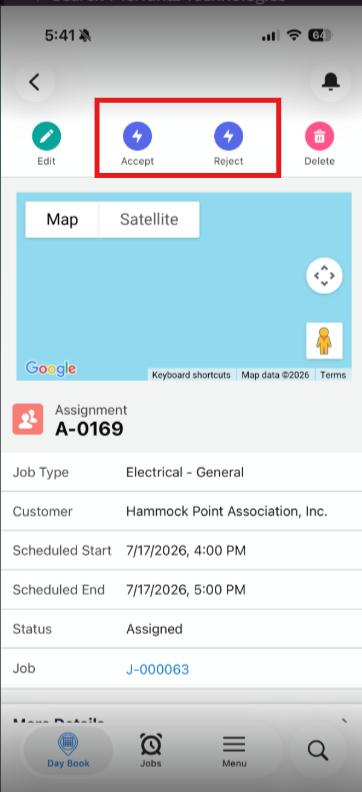
- Accept — open the job and accept the assignment.
- Start Travel — tap Start Travel once you begin heading to the job site.
- Arrive — tap Arrive once you’re on-site and starting work.
- Finish — tap Finish once the work at the site is complete.
The job status updates automatically at each step, so the office always knows where you are in the process.
3. Self-Assigning Open Jobs
If you’re out in the field and see an open (unassigned) job nearby, you can pick it up yourself:
- Go to your job list and select “All” to view open jobs (only jobs for the current day are shown).
- Open the job and check the customer address to confirm it’s nearby.
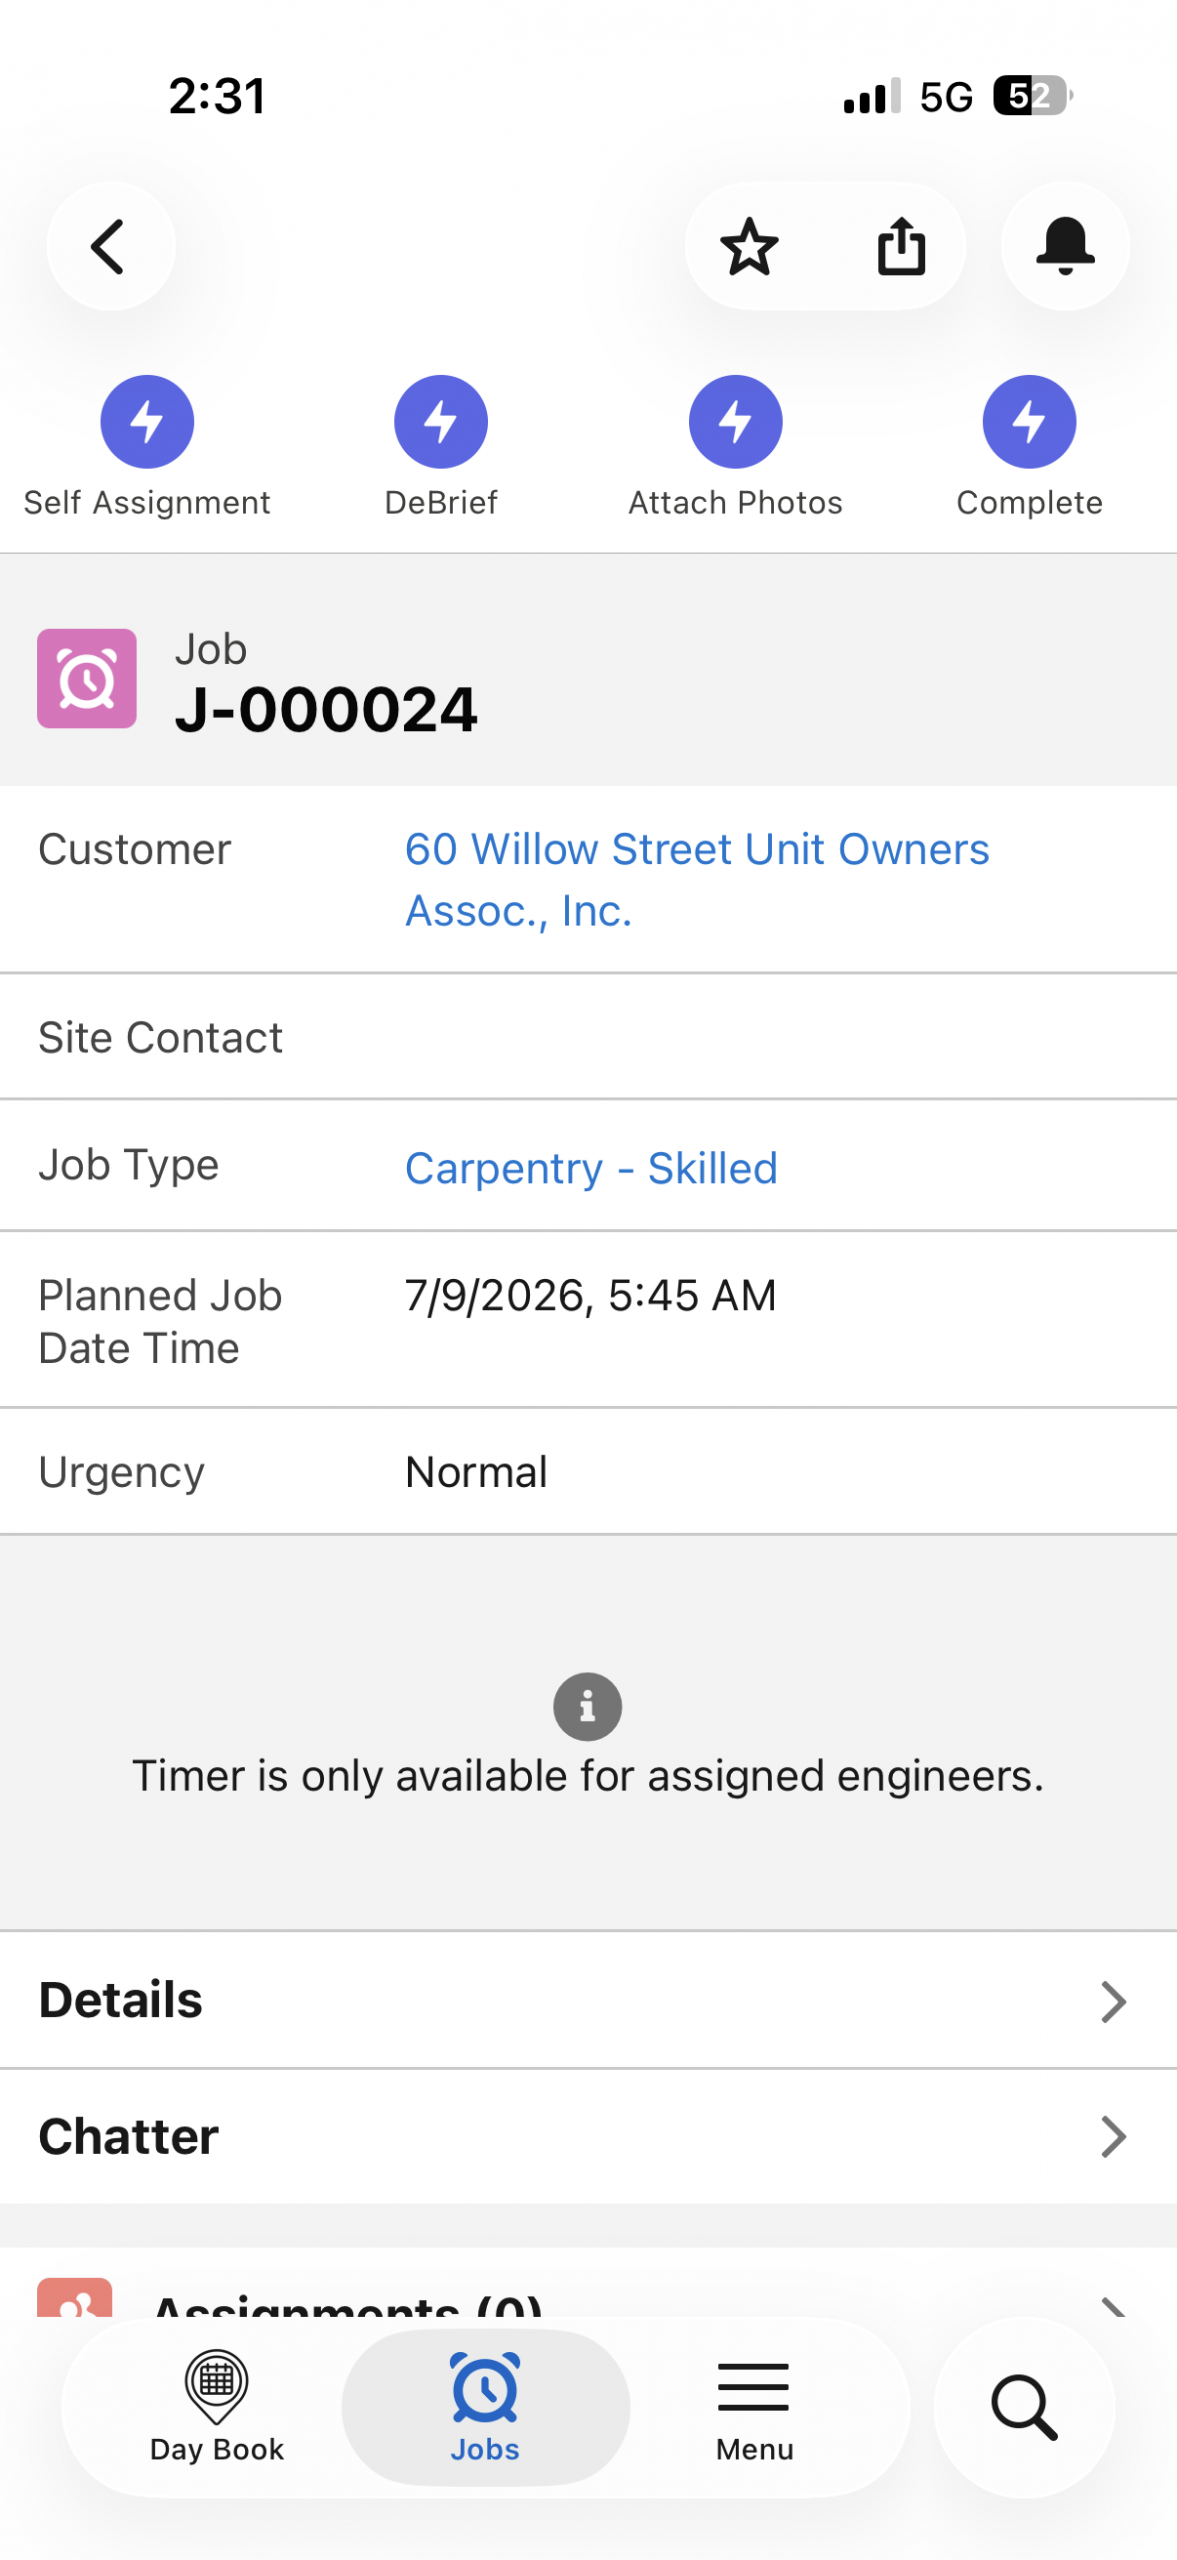
- Tap Self-Assignment at the top of the job.
- Enter a start time and end time, then confirm.
Note: Once you self-assign, the Self-Assignment button disappears (the job is now yours), and it moves into your regular assignment list to work as normal.
4. Dual-Technician Jobs
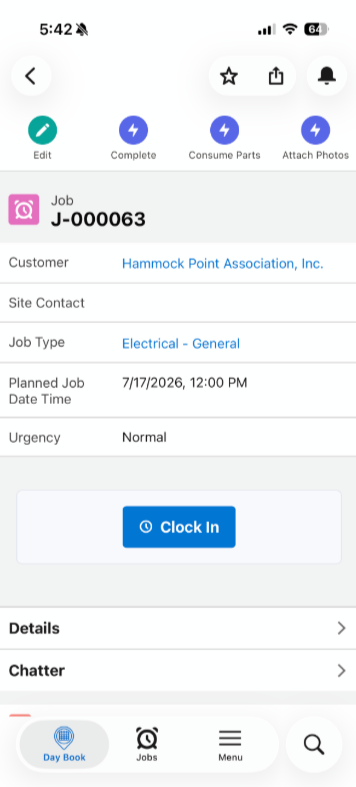
Some jobs require two technicians. These will appear in a separate “dual technician” list.
- Either technician can self-assign to the job the same way as a normal job
- Once two technicians have self-assigned, the Self-Assignment option disappears for everyone else
- Each technician works independently through Accept → Start Travel → Arrive → Finish
- Either technician can mark the job as complete
5. Attaching Photos
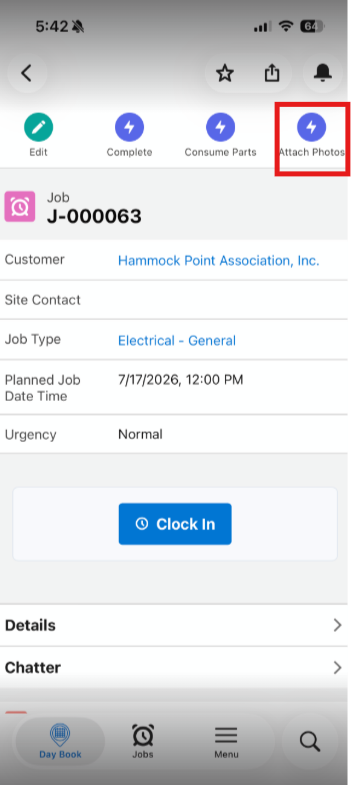
Before finishing a job, you can attach photos from the site so the admin team can review the work. Use the photo/camera option on the job screen to capture and upload as needed.
6. Logging Parts / Materials Used
The way parts and materials are logged is being updated, and this section will be revised as it becomes available.
Going forward, instead of listing individual items and quantities, you will be asked to record:
- How the purchase was paid for — e.g., Home Depot, Lowe’s, Visa, American Express, or Truck Stock
- The total dollar amount spent
- A photo of the receipt, where applicable
This is simpler than itemizing every part — you just need to record the vendor/payment method and how much was spent, not each individual item purchased.
7. Completing the Job
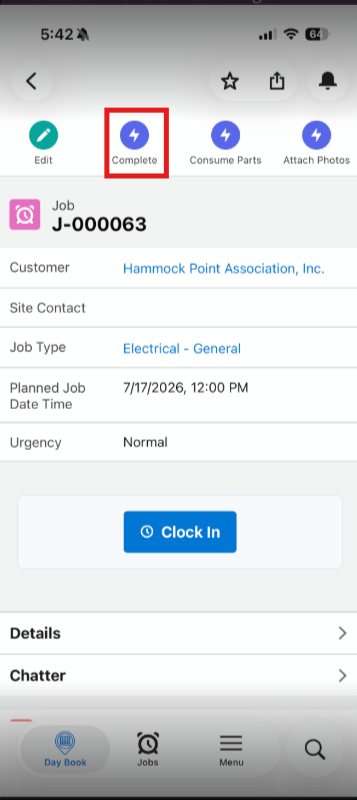
Once all work is done and any parts/photos are attached, tap Complete. This will:
- Mark the job status as Completed
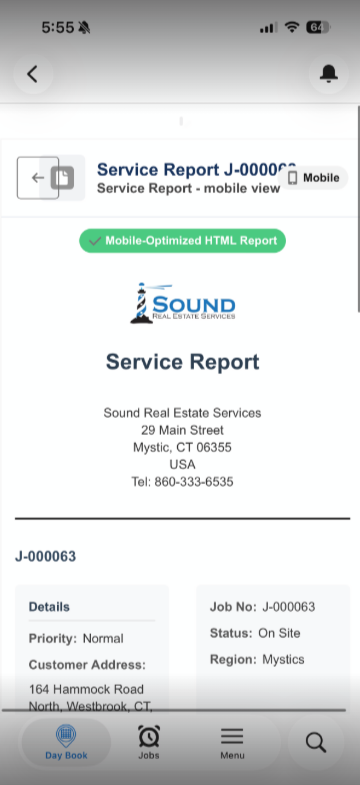
- Automatically generate a service report (PDF) attached to the job, including photos and parts/materials used
- Move the job into your completed jobs list for the day
8. Quick Reference
| Step | Action |
| 1. Accept | Accept the job from your Daybook |
| 2. Start Travel | Tap when heading to the job site |
| 3. Arrive | Tap when you reach the site |
| 4. Work the job | Attach photos; log parts/materials (vendor + amount) |
| 5. Finish / Complete | Tap Complete — service report PDF is generated automatically |